Decision Making with Skeleton·ID
Once we have performed a skull-face overlay and we have filled in the evaluations tab with the analyzed criteria, we will be able to access the decision-making section and generate an automatic report on the case.
To do this, we must return to the file management section and open the file to which the skull-face overlay that we have made and analyzed is associated. Within the file we must access the “reports” tab (Figure 1).
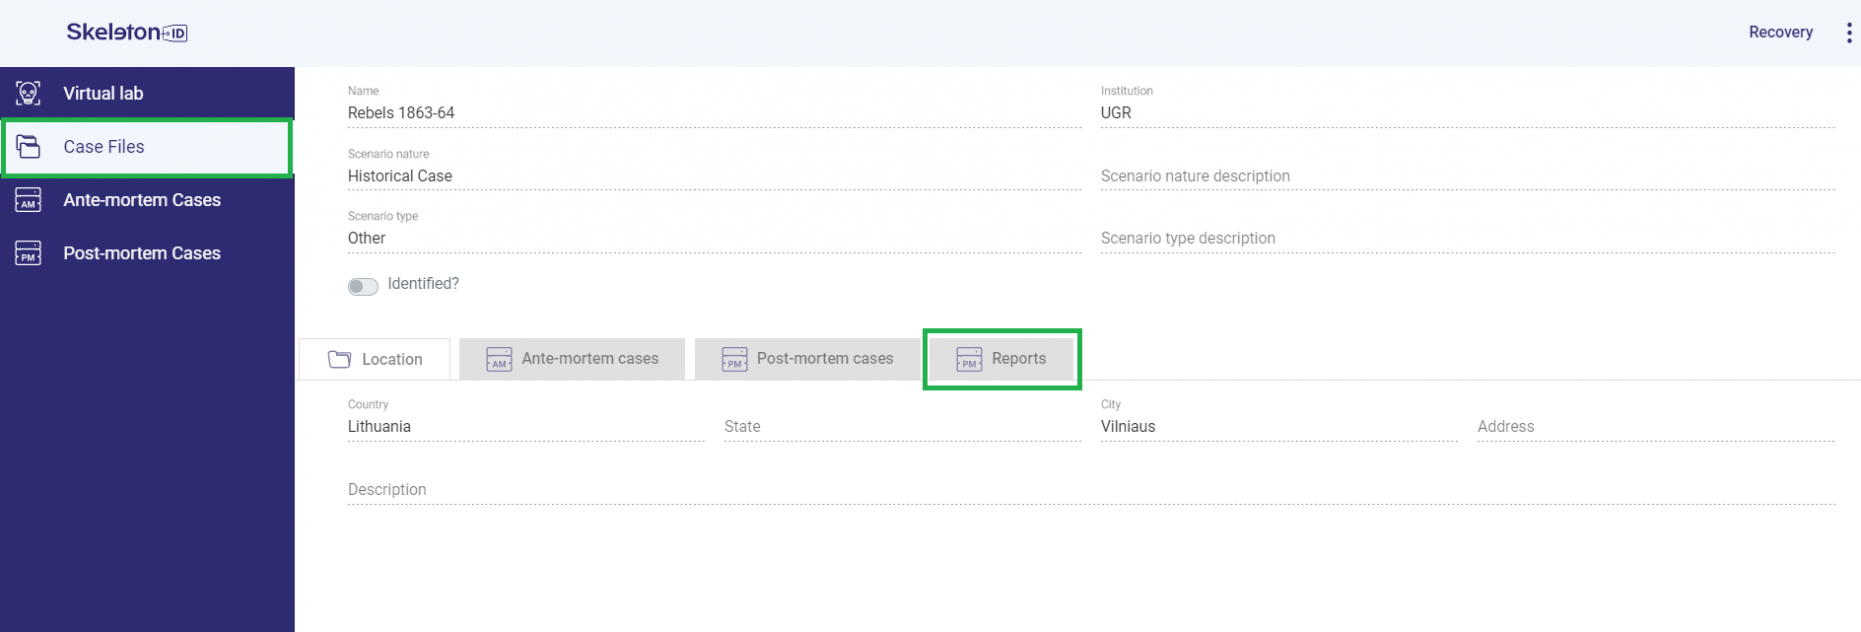 Figure 1. Window corresponding to a file where the reports tab is displayed.
Within the reports section we must select the option “add report” and a pop-up window will appear (Figure 2) in which we must assign a name, describe the methodology that we have used to perform the skull-face overlay and select the AM and PM cases associated with the file for which we want to make decisions and generate the report.
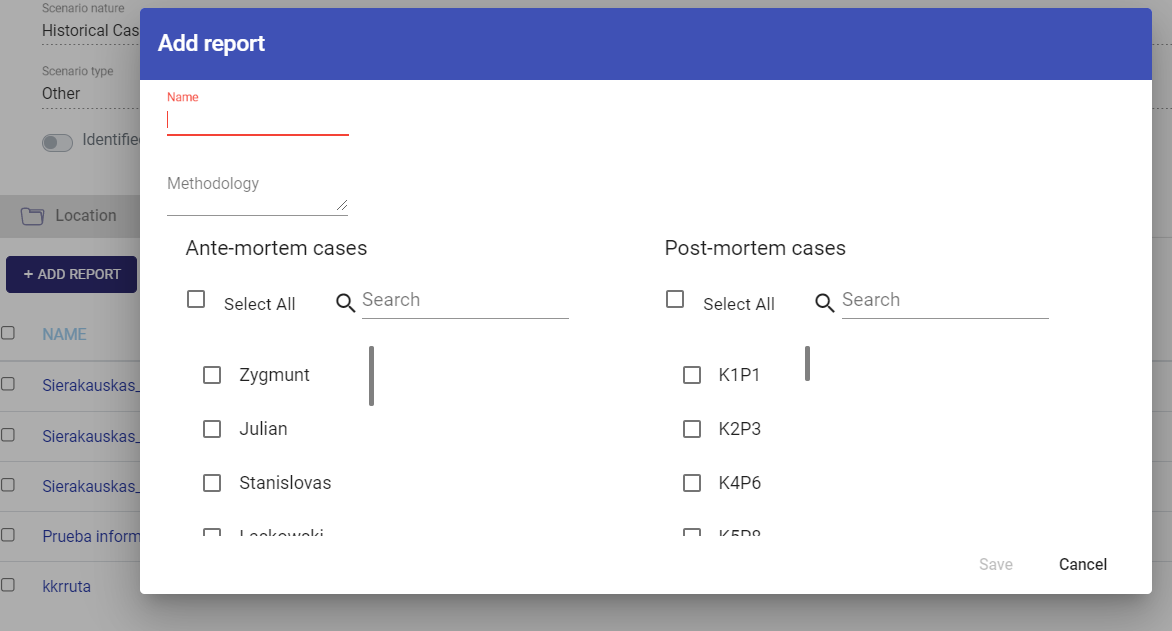 Figure 2. Report creation options and selection of AM-PM cases associated with the report.
Once the report is generated, we will access the decision-making screen (Figure 3). By default, decision making will appear at the Craniofacial Superimposition level and two tabs to select the decision (Positive, Negative, Indeterminate) and the degree of support assigned (Strong, Moderate, Limited). The decision at the level of Craniofacial Superimposition is made on the average of all the skull-face overlays performed for the same AM-PM set, taking into account the criteria that must be met on the MEPROCS scale (see Decision Making in MEPROCS). Therefore, this will be the last step we will make in making decisions and first we will have to do it at the level of each overlay.
 Figure 3. Default screen for decision making and reporting.
To carry out the decision making for each of the skull-face overlays made, we must click on the add SFO option and a pop-up window will open in which we must select the overlays for which we want to make the decisions (Figure 4).
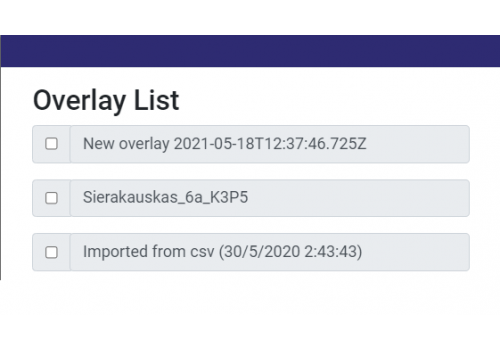 Figure 4. List of overlays available for the case of Craniofacial Superimposition.
To display the tab with the overlays that we have selected and the dropdowns to select the decision (Positive, Negative, Indeterminate) and the degree of support assigned (Strong, Moderate, Limited) (Figure 5) we must click on the arrow that appears in the flange side margin  . This decision will be made based on the sets of criteria analyzed, for this we must select the sets of criteria that we have defined in the skull-face overlay scene in the “select evaluation” option. A pop-up window will appear where we must select the set of criteria that we have used (Figure 6).
 Figure 5. Decision-making window with skull-face overlays displayed.
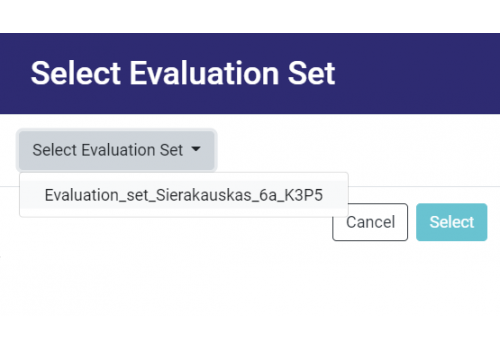 Figure 6. Selection of set of criteria.
Once the set of criteria has been selected, we must click on the arrow in the right margin of the tab to display all the available criteria families on the screen (Figure 7). A bar graph will appear for each family to facilitate visualization, indicating how many of the criteria that we have analyzed have been classified as positive, how many as negative, and how many have not been compared.
 Figure 7. Decision-making window with the criteria for a skull-face overlay displayed.
If we click on each of the families, we can open a drop-down menu where all the criteria belonging to said family and the degree of support assigned to each of them will be shown by means of a color code to facilitate their visualization (Figure 8).
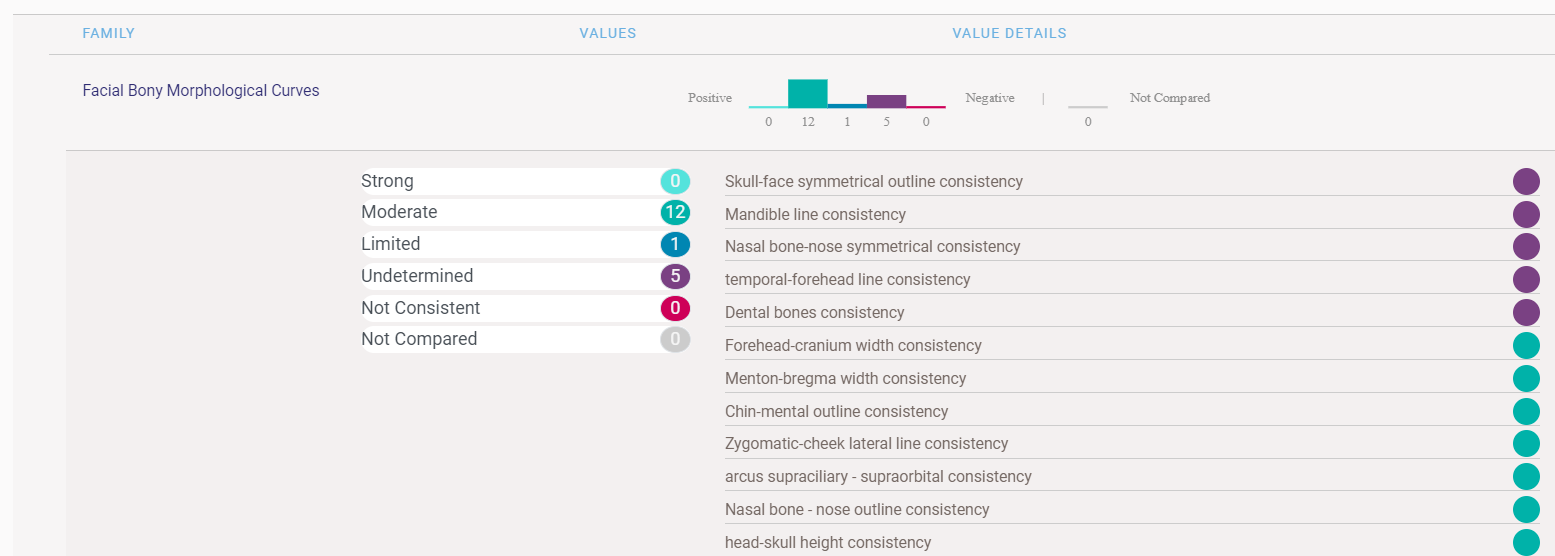 Figure 8. Drop-down with the list of criteria that is shown when clicking on a family of criteria.
Once we have selected all the skull-face overlays and displayed all the analyzed criteria, we can proceed to the decision-making process at the level of each skull-face overlay and finally at the level of Craniofacial Superimposition (Figure 9). This must be done in reverse order, from a lower decision level (each AM-PM overlay) to the higher level (final decision at the level of all AM-PM overlays analyzed).
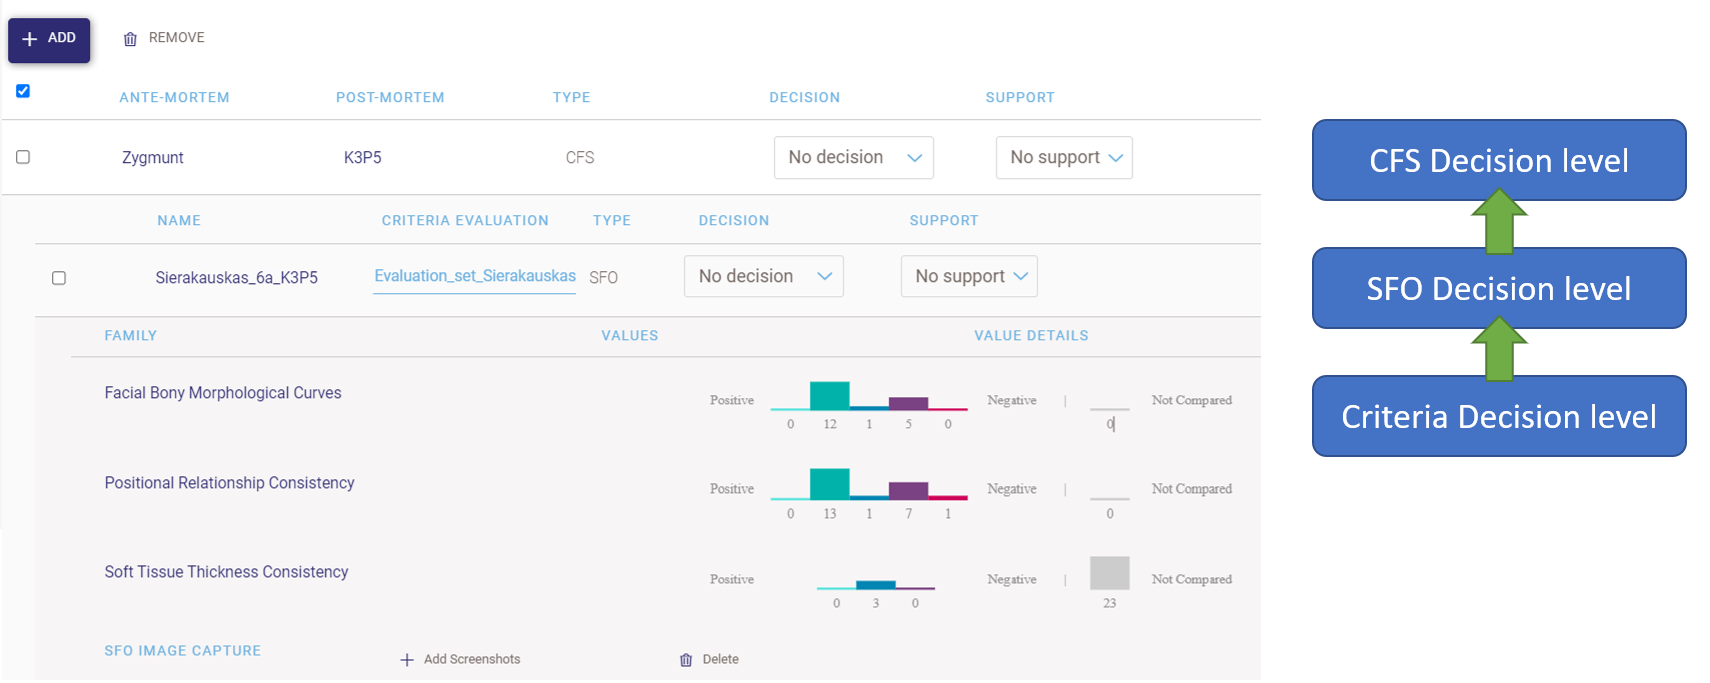 Figure 9. Order in which decisions are to be made in the decision-making window.
-
First, we must consider all the criteria analyzed and how many have been classified as positive and negative and the degree of support.
-
Next, we must assign the decision for each skull-face overlay and the degree of support based on the consistency of the criteria analyzed.
-
Finally, we will assign the decision at the level of Craniofacial Superimposition and the degree of support, considering the decisions assigned to each skull-face overlay and the MEPROCS recommendations for each degree of support (see Decision Making in MEPROCS).